
티스토리 뷰
AI웹 개발자 과정 공부 (팀스파르타)/Django (장고)
24.04.25_TIL (2) (Django static & media, 관리자페이지)
티아(tia) 2024. 4. 25. 15:42728x90
++ 장고 공식 문서는 항상 확인하기
https://docs.djangoproject.com/en/4.2/
1. static 사용해보기
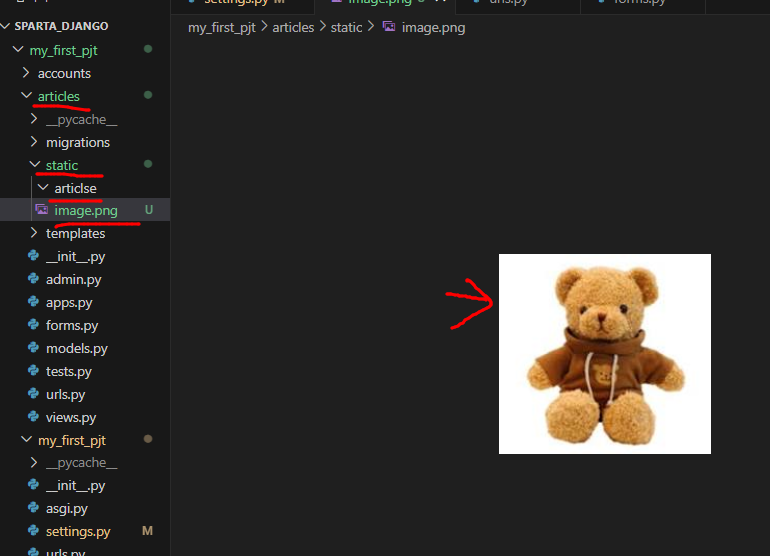
- my_first_pjt 의 상위에 static 폴더를 만들어준다. 아래의 사진과 같은 위치에

- settings.py 에 124번째줄에 다음과 같이 적어준다. static을 사용하겠다는 뜻
STATIC_URL = 'static/'
STATICFILES_DIRS = [BASE_DIR / 'static']
STATIC_ROOT = BASE_DIR / 'staticfiles'

- articles 에 static 파일을 만들고 그 안에 articles 를 또 만들어서 원하는 이미지 파일을 넣어준다.
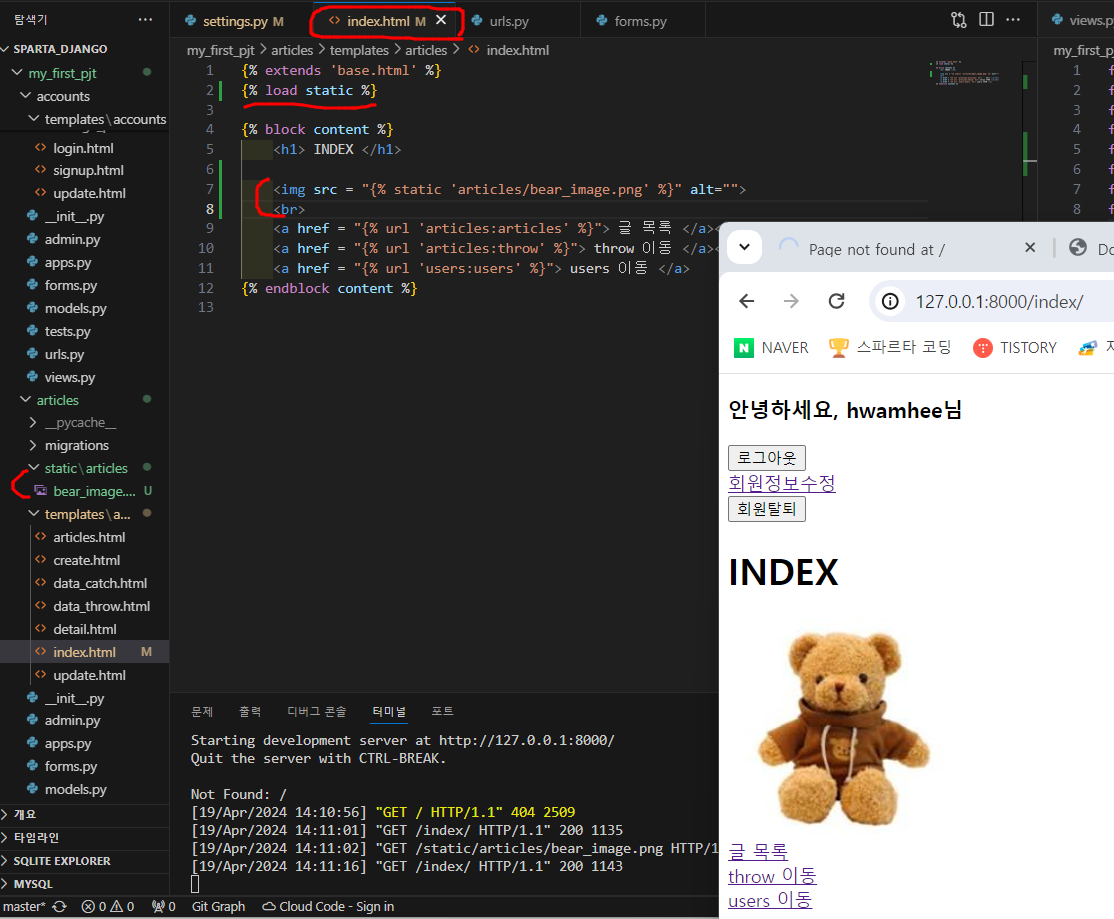
- articles 의 index.html 에서 수정해준다.
- alt는 이미지파일이 없을 때 빈칸으로 나오게 하기 위해서 써준다. 곰돌이...귀여워...
{% extends 'base.html' %}
{% load static %}

{% block content %}
    <h1> INDEX </h1>

    <img src = "{% static 'articles/bear_image.png' %}" alt="">
    <br>
    <a href = "{% url 'articles:articles' %}"> 글 목록 </a><br>
    <a href = "{% url 'articles:throw' %}"> throw 이동 </a><br>
    <a href = "{% url 'users:users' %}"> users 이동 </a>
{% endblock content %}
- 제일 바깥쪽 base 에 있는 static 파일 안에 css 폴더를 만들어서 style.css 파일을 만들어준다.
img {
  width: 200px;
}
- base.html 을 수정해준다.
{% load static %}
<!DOCTYPE html>
<html lang="en">
<head>
    <meta charset="UTF-8">
    <meta name="viewport" content="width=device-width, initial-scale=1.0">
    <link rel="stylesheet" href="{% static 'css/style.css' %}">
    <title>Document</title>

    {% block head %}{% endblock head %}
</head>
<body>

2. Media 파일 업로드하기
- settings.py 에 media 만들기
# Media files
MEDIA_URL = "/media/"
MEDIA_ROOT = BASE_DIR / "media"
- my_first_pjt 에서 urls.py 를 수정.
from django.contrib import admin
from django.urls import path
from django.urls.conf import include
from django.conf import settings
from django.conf.urls.static import static

from articles import views


# urlpatterns는 어떤 path로 들어왔을 때 어디로 보낼지
urlpatterns = [
    path('admin/', admin.site.urls),
    path('index/', views.index, name='index'),

    path('articles/', include('articles.urls')),
    path('users/', include('users.urls')),
    path('accounts/', include('accounts.urls')),

]

if settings.DEBUG:
    urlpatterns += static(settings.MEDIA_URL, document_root=settings.MEDIA_ROOT)

- 아래의 뜻은 나중에 배포할 때 DEBUG를 False 로 놓지 않으면 보안에 취약할거라고 말해주는 것!!
# SECURITY WARNING: don't run with debug turned on in production!
DEBUG = True
- articles 의 models.py 에 추가해준다.
image = models.ImageField(upload_to="images/", blank=True)
- 그리고 pip install pillow 깔아준다.
- 그다음 프리즈 해준다. pip freeze > requirements.txt
- python manage.py makemigrations 를 진행해준다.
- python manage.py migrate 도 해준다.


- 실행하면 이미지를 추가할 수 있는 칸이 생겼다!!
- 아직은 파일이 올라가지 않아서 파일을 올릴 수 있게 수정해주어야 한다.
- articles 의 craete.html 을 수정해줌
{% extends 'base.html' %}

{% block content %}
  <h1>New Article</h1>

  <form action="{% url 'articles:create' %}" method="POST" enctype="multipart/form-data">
    {% csrf_token %}
    {{ form.as_p }}

    <button type="submit">저장</button>
  </form>

  <a href="{% url 'articles:articles' %}">목록 으로</a>

{% endblock content %}
- articles 의 views.py 도 수정해준다.
@login_required
def create(request):
  if request.method == "POST":
      form = ArticleForm(request.POST, request.FILES)
      if form.is_valid():
          article = form.save()
          return redirect("articles:detail", article.id)
  else:
      form = ArticleForm()

  context = {"form": form,}
  return render(request, "articles/create.html", context)
- 글 작성을 해보면 이미지 파일이 media 폴더 안에 생성된 것을 볼 수 있다.

- 이미지가 detail.html 에 보일 수 있도록 수정해주자. - 이미지가 없는건 안보이고 이미지 있는 것들만 보일 수 있게 해준다.if 문
{% if article.image %}
		<img src="{{ article.image.url }}">
{% endif %}
3. 관리자페이지 커스텀하기
- articles 의 admin.py 에 작성해준다.
from django.contrib import admin
from .models import Article


@admin.register(Article)
class ArticleAdmin(admin.ModelAdmin):
    list_display = ("title", "created_at")
    search_fields = ("title", "content")
    list_filter = ("created_at",)
    date_hierarchy = "created_at"
    ordering = ("-created_at",)
반응형
'AI웹 개발자 과정 공부 (팀스파르타) > Django (장고)' 카테고리의 다른 글
| 24.04.30_TIL (Django Custom UserModel 활용하기 ) (0) | 2024.05.01 |
|---|---|
| 24.04.26_TIL (Django Model Relationship (1:N) 댓글 구현 ) (0) | 2024.04.26 |
| 24.04.25_TIL (1) (Django 회원가입, 탈퇴, 정보수정) (0) | 2024.04.25 |
| 24.04.22_TIL (2) (Django Authentication System) (0) | 2024.04.22 |
| 24.04.22_TIL (1) (Django Form & Model Form & URL Namespace ) (0) | 2024.04.22 |